IPS DOCS – FREE WEB PUBLISHING
Turnkey news
The latest build (161) of IPS introduces a new free to use service for all users
Since changes introduced by The Legislative Reform (Insolvency) (Miscellaneous Provisions) Order 2010:
“where any provision of this Act or the rules requires the office-holder to give, deliver, furnish or send a notice or other document or information to any person, that requirement is satisfied by making the notice, document or information available on a website—“
Insolvency practitioners have needed a quick, safe, simple and cheap method of delivering documents to the internet. While some firms have used internal resources to utilise their own web sites many have either not bothered or have gone to the expense of using a third party solution. As the information for an upload is held within IPS it seemed a sensible move to provide such a service from within the IPS application.
Uploading from an IPS case
Set case username and password
The process starts within the IPS case. From the <Setup> <Edit Case Setup> select the <Portal> tab:
Enter an appropriate username and password to be passed to any party you wish to have access to the documents that you will upload. (In the above I have used the case code as my username)
Using the publish docs facility
From within the case select the <Setup> <Publish Docs> option:
You will note that most of the pertinent case information is completed. Some options are available:
- Case Contacts(s): This option will allow you to select which (if any) case contacts you wish to publish. This will include all case manager and administrator staff.
- Display case contact email address: This will allow the email address(s) of the case contacts to be displayed on the web page.
- Publish Appointment Taker names: Selecting this will publish the name(s) of the appointment takers to the web page.
Once the options have been chosen select the <Save Contact Setting> option:

The next step is to select the document(s) that you wish to publish. Select the <Browse for File> option:

I am going to choose to upload first the proof of debt form and second the progress report. Select the document required and select <Open>:
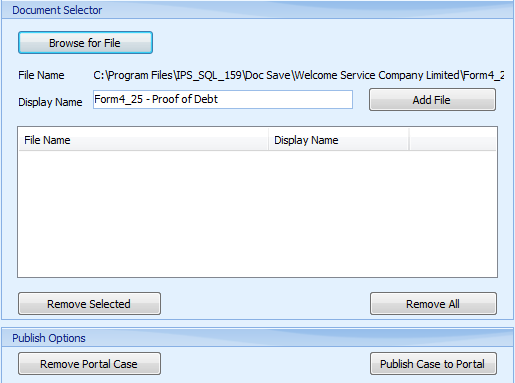
Select <Add File> to add file to be uploaded:
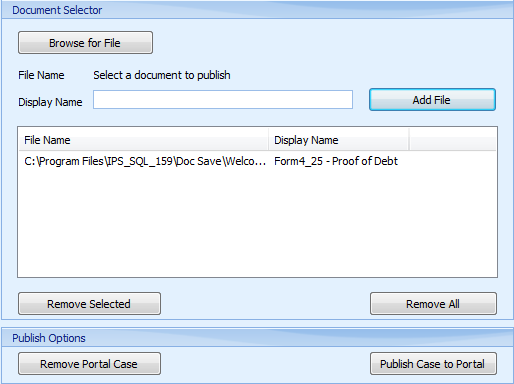
Repeat this process for other files to be uploaded.
Before publishing the case and documents to the web portal. The web page can be previewed. Select the <Preview Web> tab:
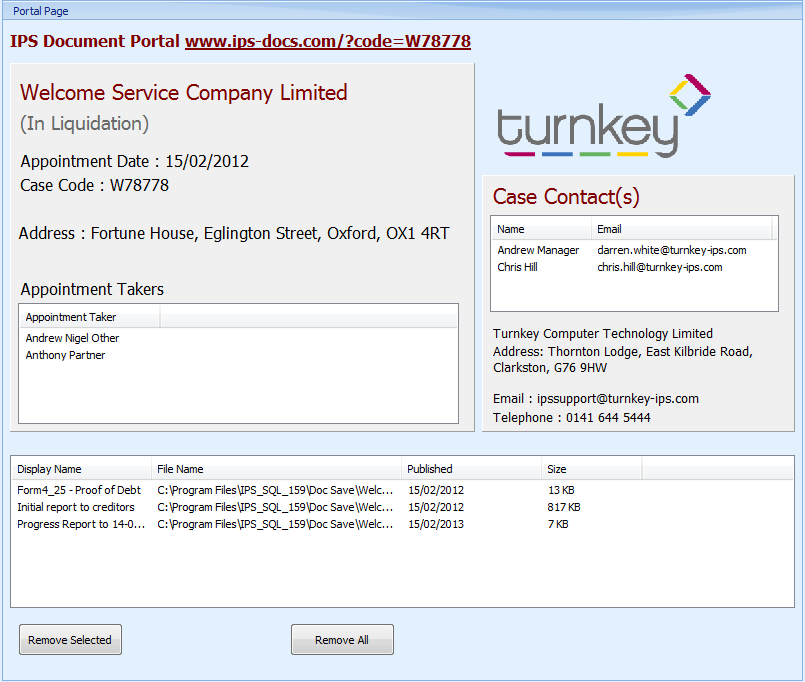
You will see the preview of the information to be published.
However this screen will display and allow you to remove documents that have already been published, the options available are:
- Remove Selected: Remove an individual document.
- Remove All: Remove All documents.
When you are happy that the preview is what you require to be published select the <General> tab. The two available options are:

- Remove Portal Case: This will remove the case from the web portal.
- Publish Case to Portal: This will publish and/or update the case on the web portal.
Select <Publish Case to Portal>:
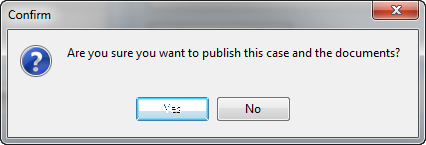
Select <Yes>:
On completion you will get the following message:
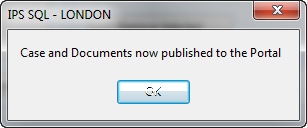
Select <OK>:
Your case is now published to the web.
Accessing case
Once you have successfully published the case to the web it can be accessed in one of two ways:
- If you are still within the <Publish Docs> option select the <Preview Web> tab:

Click the link to access the web page:
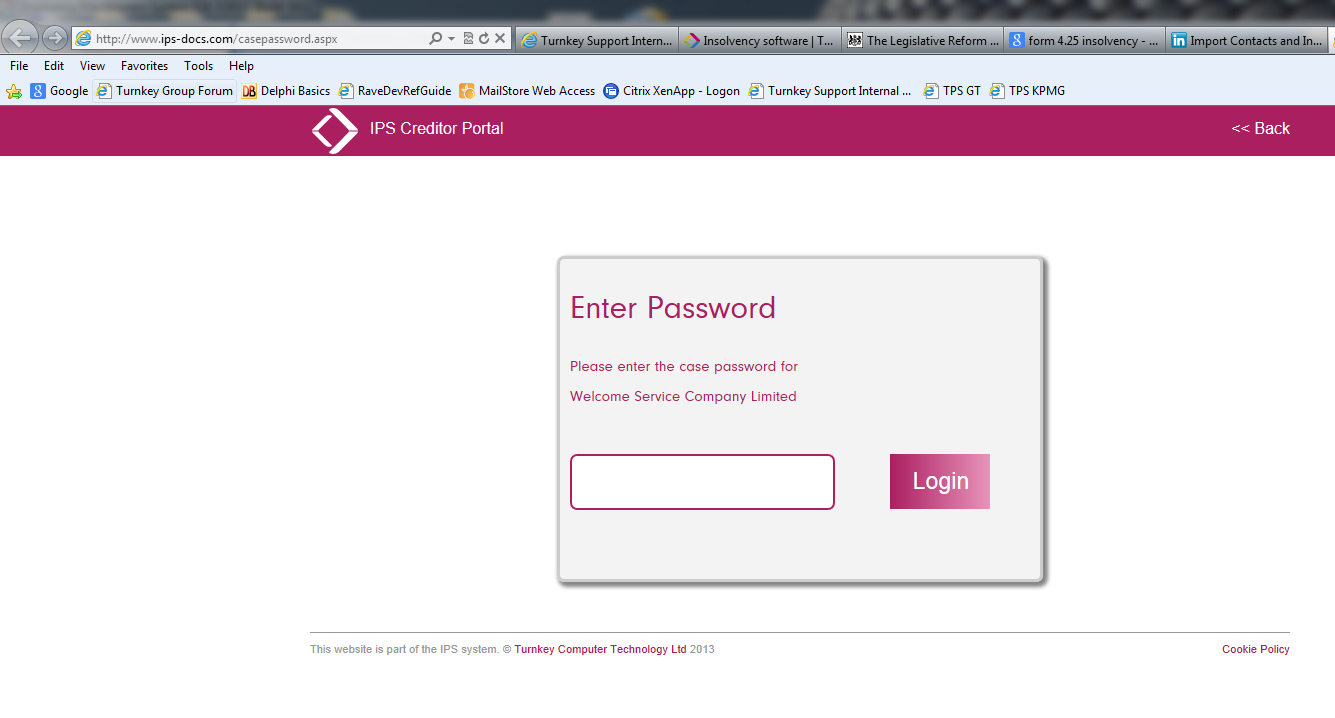
Enter the password that you set up within the case to gain access (service).
- The second method and the option that you will give to creditors and others external to you is to send them to the web site: www.ips-docs.com
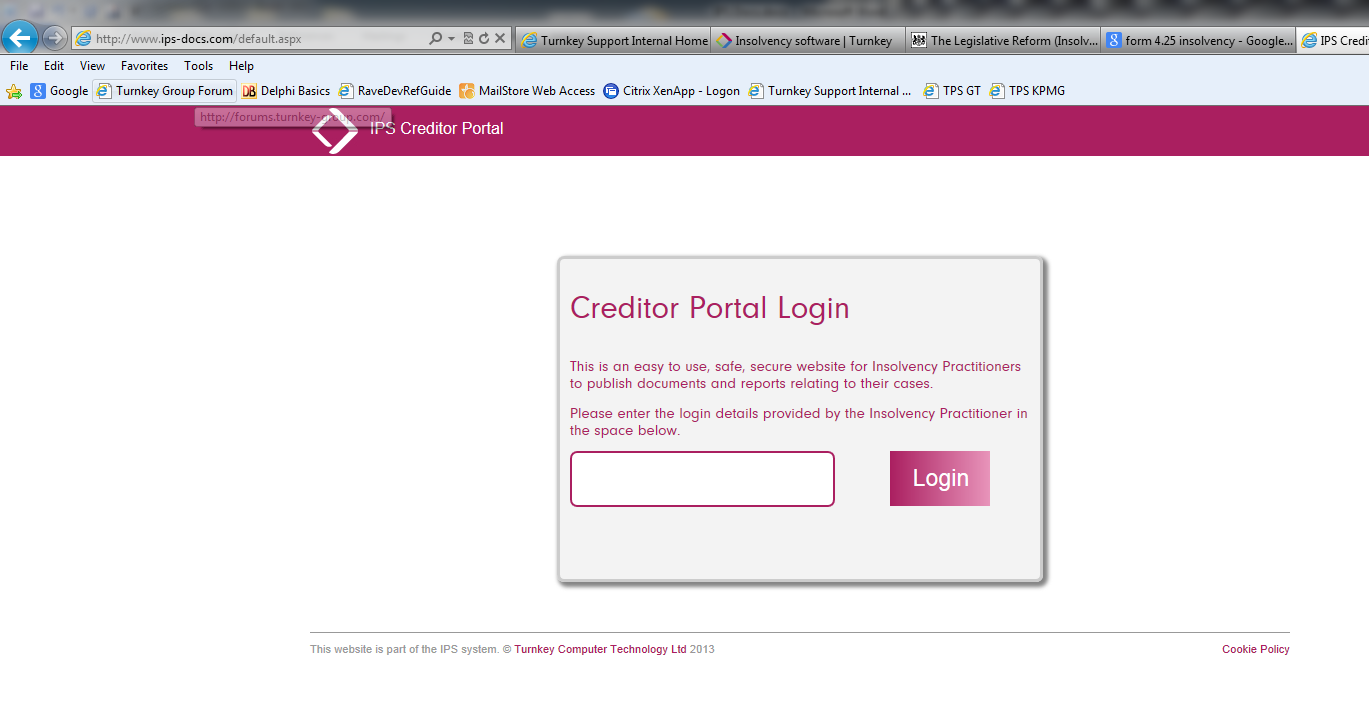
Enter the login code (W78778) and press <Login>:
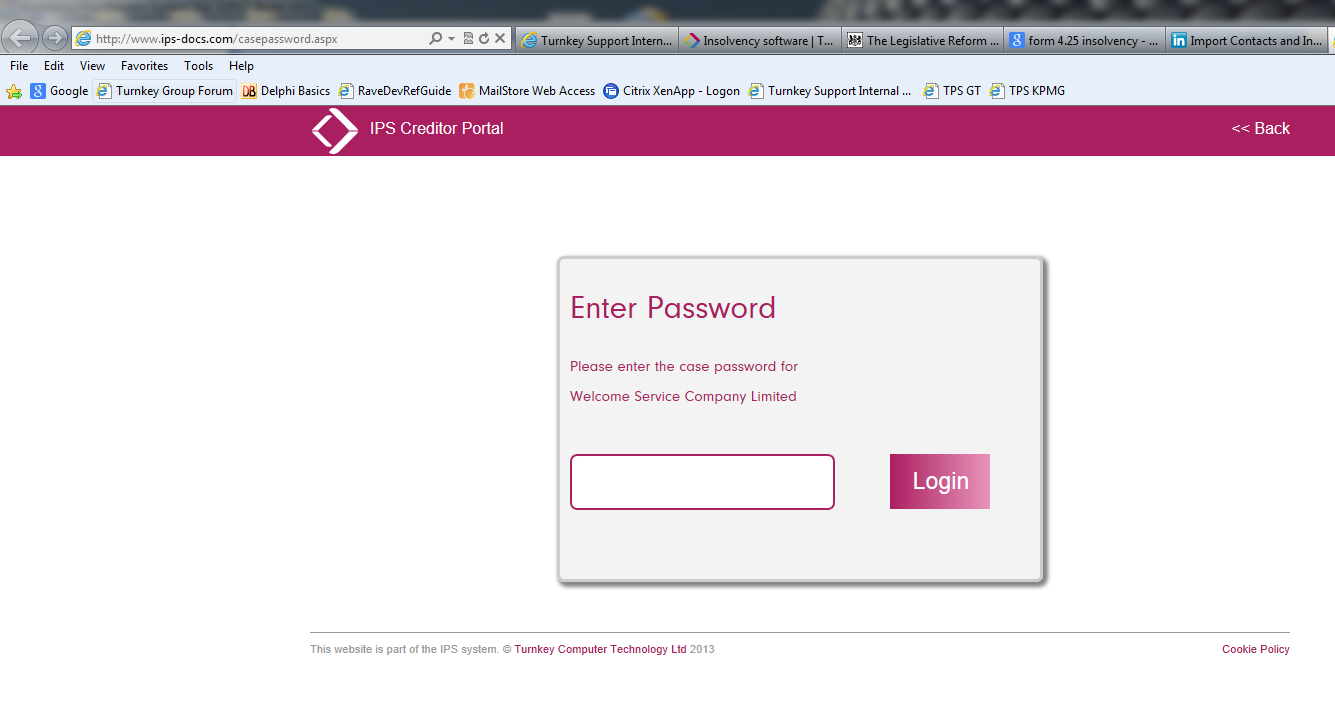
Enter the password that you set up within the case to gain access (service):
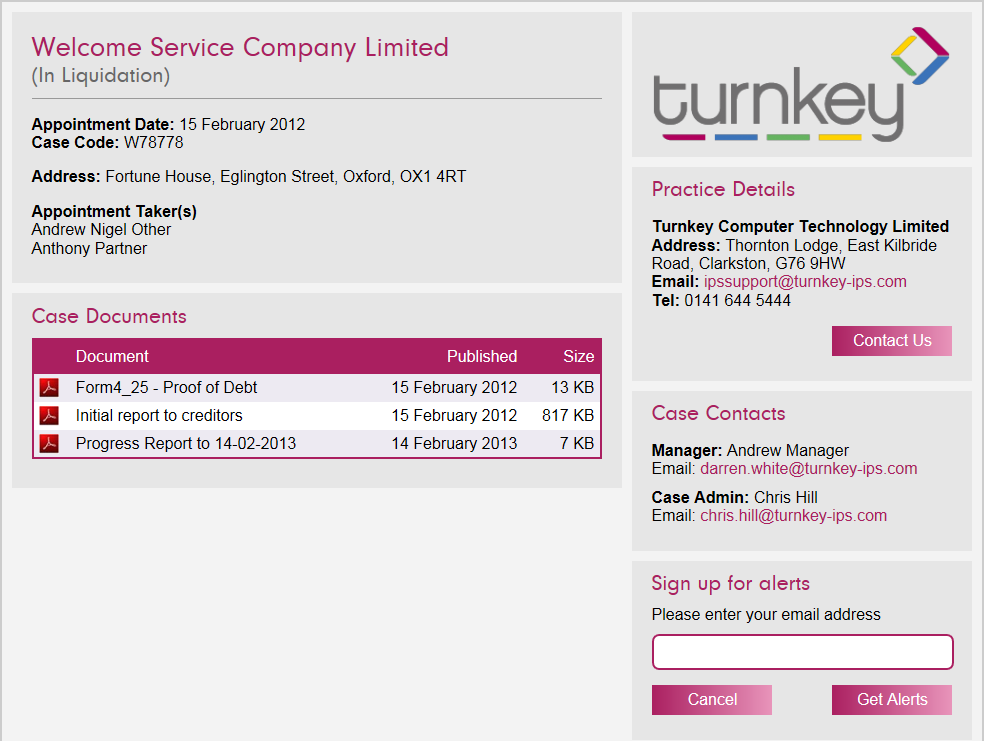
Some points to note:
- If you have published email addresses then creditors and others will be able to click on the link to send an email. Additionally the <Contact Us> option can be used:
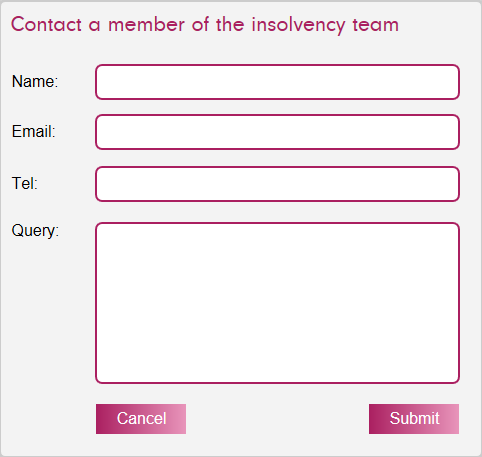
This form will allow a user of the site to contact a member of your staff at your IPS general email address stored in your user set-up screen.
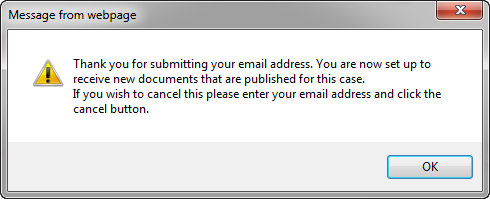
- If a user of the site wishes to be alerted when documents are added in future they can simply enter their email address and select <Get Alerts>:
Ready to discover more?
Schedule your demo of IPS Cloud to see the software in action

